Adjusting the needle position on your Singer sewing machine is essential for achieving precise, professional-quality stitches. Whether working with thick denim or delicate silk, a slight tweak to the needle’s position can significantly affect the outcome of your project.
This guide will delve into how often you should consider adjusting your needle position and provide a step-by-step guide on how to make these adjustments effectively.
Understanding Needle Position Adjustment
Why Adjust Your Needle? Adjusting your needle’s position is vital for:
- Enhanced Precision: Proper alignment allows for accurate stitches, crucial for detailed and intricate work.
- Versatile Sewing: Different projects require different needle positions. Adjusting allows you to undertake a broader range of sewing tasks effectively.
- Improved Fabric Handling: The correct needle position can prevent common sewing issues like skipped stitches or fabric puckering.
How to Adjust Needle Position on Singer Sewing Machine step by step
Adjusting the needle position on your Singer sewing machine is a straightforward process that can significantly enhance the precision and quality of your sewing. Here’s a detailed, step-by-step guide to help you adjust the needle position:
Step 1. Identify Your Model:
Why It’s Important: Different Singer models may have unique features and ways of adjusting the needle position. Knowing your model helps you understand the specific adjustments your machine is capable of.
How to Do It: Find the model number on your machine, often located on the back or side. Then, refer to the user manual for your specific model, which will provide tailored instructions.
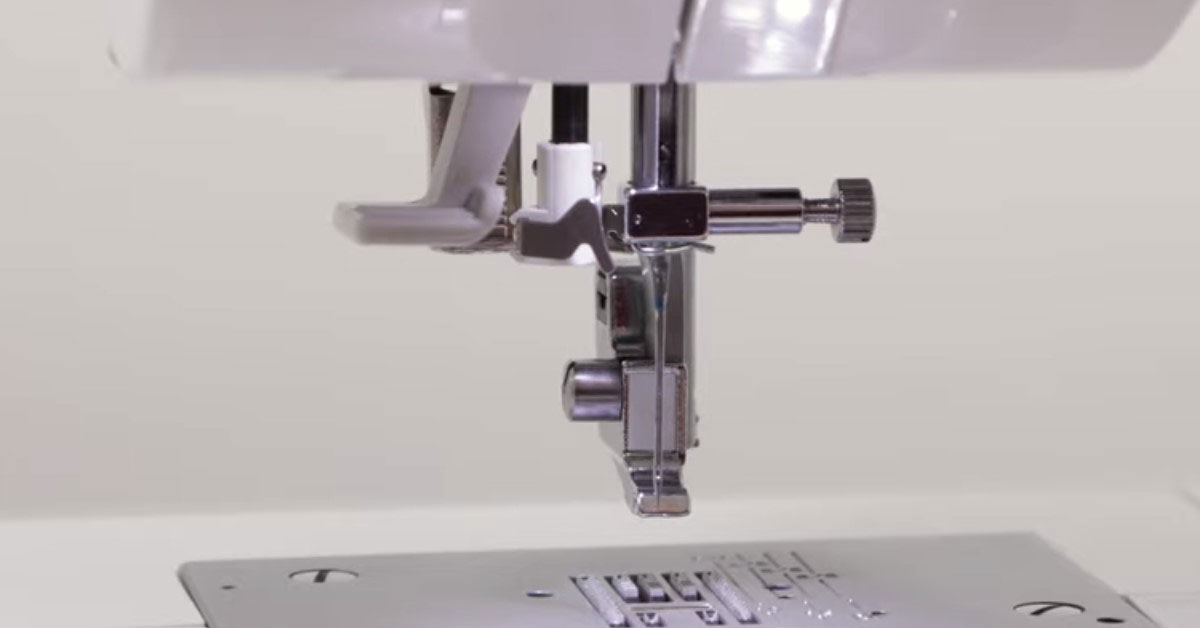
Step 2. Locate the Needle Position Control:
Typical Controls: Look for a dial, button, or lever marked with symbols indicating different needle positions — usually left, center, and right. On many Singer models, this is integrated with the stitch width dial.
Understanding the Control: In straight stitch mode, adjusting the stitch width dial on models like the Singer 4452 or 4432 will move the needle from side to side. For zigzag stitches, it changes the stitch width.
Step 3. Test the Current Position:
Why Test: Sewing a line on scrap fabric helps you see where the needle currently sits in relation to the fabric edge or seam guide. This gives you a baseline for your adjustments.
How to Test: Choose a straight stitch setting and sew a straight line on a piece of scrap fabric. Observe the needle’s path and where the stitches fall.
Step 4. Turn Off the Machine:
Safety First: Always turn off and unplug your sewing machine before making any adjustments to prevent accidental injury or damage to your machine.
Check Position: Ensure the needle is in the highest position before turning off the machine, making it easier to see and adjust.
Step 5. Make the Adjustment:
How to Adjust: Gently move the needle position control to shift the needle to the desired position. For precision, make small, incremental changes.
Observing Changes: As you adjust the control, watch the needle’s position change. This will give you an idea of how far you need to move it for your specific needs.
Final Step. Test and Retest:
Why Retest: Sewing another line on scrap fabric helps you see the effects of your adjustments and ensures you’ve achieved the desired needle position.
Adjust as Needed: If the needle isn’t quite where you want it, turn off the machine again and make further adjustments. Repeat this process until you’re satisfied with the needle’s position.
Tips and Reminders:
- Always Refer to Your Manual: Your Singer’s user manual is the best resource for understanding how to safely and effectively adjust your machine.
- Consider Needle Type: Ensure you’re using the correct needle type for your fabric to prevent issues and achieve the best results.
- Regular Maintenance: Keep your machine clean and well-maintained to ensure all parts, including the needle position mechanism, work smoothly.
Related: How to Change Needle on Singer Sewing Machine
Determining the Frequency of Adjustments
The frequency of needle position adjustments can vary based on several factors:
- Type of Projects: More varied projects mean more frequent adjustments.
- Fabric Type: Different fabrics may require different needle positions for optimal results.
- Personal Preference: Some sewists adjust for each project, while others find a general setting that works for most of their needs.
General Guidelines:
- Regular Projects: If your projects are similar, you might adjust every few projects.
- Varied Projects: For a range of sewing tasks, you may adjust the needle position as part of the setup for each new project.
- Troubleshooting: Whenever you encounter issues like uneven stitches or fabric puckering, it’s a good time to check and adjust your needle position.
Related: How to Change Needle on Singer Sewing Machine
Example Case Study:
Situation: Sarah, an avid garment maker, recently switched from sewing heavyweight denim to a delicate chiffon for a new blouse. Despite her experience, she noticed the fabric was puckering, and the stitches were uneven.
Action:
- Assessment: Sarah suspected the issue was due to the needle position, which was still set for the heavier denim fabric.
- Adjustment: She referred to her Singer sewing machine’s manual, turned off her machine, and adjusted the needle to a position more suitable for the lightweight chiffon.
- Testing: Sarah tested the new needle position on a scrap piece of chiffon. The stitches were beautifully even, and the puckering was gone.
- Project Completion: With the needle position correctly adjusted, Sarah completed her blouse, which featured delicate, even stitches.
Step-by-Step Guide: Adjusting the Needle on Singer Model 4432
The Singer 4432 sewing machine is a popular, heavy-duty sewing machine known for its durability and versatility. Here’s how you would adjust the needle position on this specific model:
- Know Your Machine: The Singer 4432 is designed with user-friendly features, including easy needle position adjustment.
- Locate the Needle Position Control: On the Singer 4432, you’ll find a stitch-width dial on the front of the machine. This dial adjusts the width of zigzag stitches and moves the needle when you’re using a straight stitch.
- Test the Current Position: Before you make any adjustments, sew a straight line on a scrap piece of fabric. Observe where the needle enters the fabric in relation to your seam guide or foot.
- Turn Off the Machine: For safety, always turn off and unplug your machine before making any adjustments.
- Make the Adjustment: Gently turn the stitch width dial on your Singer 4432. You’ll notice the needle moving left or right. Adjust until it aligns with your desired position.
- Test and Retest: After adjusting, plug your machine back in, turn it on, and sew another line on scrap fabric to check the new needle position. If it’s not perfect, repeat the process until you’re satisfied.
Real-Life Application: Sarah’s Experience with the Singer 4432
Sarah, a home-based entrepreneur, often switches between crafting thick canvas bags and delicate silk scarves. She uses her Singer 4432 for its robustness and adaptability. Recently, when shifting from a batch of canvas bags to silk scarves, she noticed the silk puckering.
Action:
- Assessment: Sarah knew the needle position set for the thick canvas might be too aggressive for her delicate silk.
- Adjustment: She turned off her Singer 4432, consulted the manual, and adjusted the needle to a more suitable position for the lightweight fabric using the stitch width dial.
- Testing: Sarah tested the new setting on a scrap piece of silk. The stitches were even, and there was no puckering.
- Project Completion: With the needle position correctly adjusted, she completed her silk scarves, which turned out beautifully, with fine, even stitches.
Conclusion of how to adjust needle position on a singer sewing machine:
Adjusting the needle position on your Singer sewing machine is a tailored process that should match your specific sewing needs and the demands of each project. Being attentive to the needs of your project and ready to make changes when necessary will significantly enhance your sewing experience.
By understanding and adapting the needle position, like Sarah in our case study, you can transform the outcome of your work, ensuring every project is completed to the highest standard.